Inlite Blog
- Furniture
- Trending

December 18, 2024
by dmeinlite
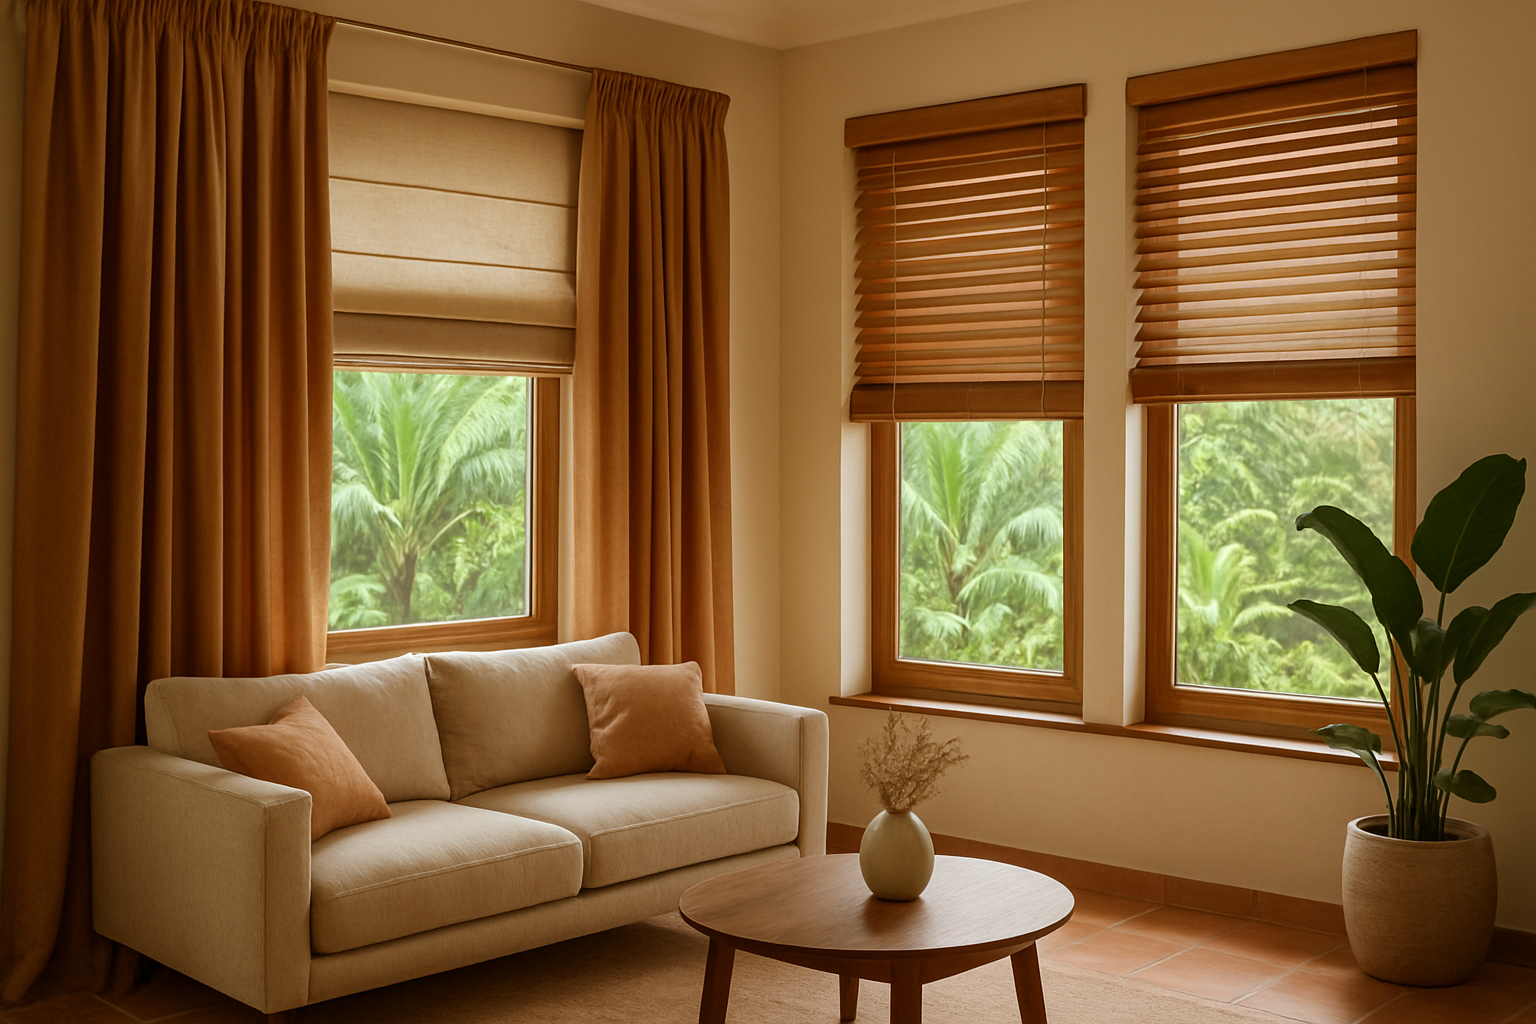
How to Measure Your Windows for Custom Curtain
Are your windows feeling a bit bare? 🪟 Adding custom curtains can transform any room, but getting the measurements wrong can turn your dream decor into a costly nightmare. Ill-fitting curtains not only look unprofessional but can also compromise your privacy and light control.
Imagine the frustration of ordering expensive, made-to-measure curtains only to find they’re too short, too narrow, or simply don’t hang right. The good news? Measuring your windows for custom curtains doesn’t have to be a daunting task. With the right approach, you can ensure your new window treatments fit perfectly, enhancing both the functionality and aesthetics of your space.
In this guide, we’ll walk you through the essential steps to measure your windows like a pro. From gathering the right tools to considering special window shapes, you’ll learn everything you need to know to achieve that tailored, designer look without the designer price tag. Let’s dive into the world of precise measurements and perfect curtains!
Gather Essential Tools for Accurate Measurements
Measuring tape essentials
When it comes to measuring windows for custom curtains, having the right measuring tape is crucial. A steel tape measure is ideal for this task due to its rigidity and accuracy. Look for a tape measure that’s at least 25 feet long to accommodate various window sizes. Ensure the tape has clear, easy-to-read markings in both inches and centimeters for precise measurements.
| Feature | Importance |
| Material | Steel for durability |
| Length | Minimum 25 feet |
| Markings | Clear, in inches and centimeters |
| Locking mechanism | For easier solo measuring |
Remember to check that the metal tab at the end of the tape measure is securely attached and moves slightly to account for its own thickness, ensuring accurate measurements whether you’re pushing against a surface or hooking over an edge.
Pencil and paper for recording
Accurate record-keeping is essential when measuring windows for custom curtains. Use a sharp pencil and a clean sheet of paper or a notepad to jot down your measurements. Create a simple table or diagram for each window, noting the following:
- Window location (e.g., living room, bedroom)
- Width measurements (top, middle, bottom)
- Length measurements (left, center, right)
- Any special features or obstructions
Here’s a sample recording format:
| Window Location | Width (inches) | Length (inches) | Notes |
| Living Room | T: 60, M: 60, B: 60 | L: 72, C: 72, R: 72 | Radiator below |
| Master Bedroom | T: 48, M: 48, B: 48 | L: 65, C: 65, R: 65 | Bay window |
By organizing your measurements systematically, you’ll minimize errors and make the curtain ordering process smoother.
Step ladder for height access
A sturdy step ladder is an indispensable tool for measuring tall windows accurately. When selecting a step ladder, consider the following factors:
- Height: Choose a ladder that allows you to comfortably reach the top of your tallest window
- Stability: Look for models with non-slip feet and a wide base
- Weight capacity: Ensure it can support your weight plus any tools
- Portability: Opt for a lightweight, foldable design for easy storage and movement
Safety is paramount when using a step ladder. Always follow these guidelines:
- Place the ladder on a flat, stable surface
- Maintain three points of contact when climbing (two feet and one hand, or two hands and one foot)
- Never stand on the top step or overreach
- Keep the ladder away from doors that could open unexpectedly
With these essential tools at hand, you’re well-equipped to begin the window measurement process for your custom curtains. Accurate measurements are the foundation of perfectly fitting curtains that will enhance your home’s aesthetic appeal. Now that you have your tools ready, let’s move on to determining your curtain style, which will influence how you take your measurements.
Determine Your Curtain Style
Inside mount vs. outside mount
When determining your curtain style, one of the first decisions to make is whether to opt for an inside mount or outside mount. This choice significantly impacts both the appearance and functionality of your curtains.
| Mounting Style | Pros | Cons |
| Inside Mount | – Clean, streamlined look<br>- Showcases window trim<br>- Ideal for recessed windows | – Requires sufficient depth in window frame<br>- Less light blocking<br>- Limited hardware options |
| Outside Mount | – Creates illusion of larger windows<br>- Better light blocking<br>- More hardware options | – Covers window trim<br>- Requires more fabric<br>- May protrude into room space |
Choose inside mount for a sleek, modern appearance, especially if you have ornate window trim you want to highlight. Outside mount is preferable for maximizing light control and creating the illusion of larger windows.
Full-length or sill-length curtains
The length of your curtains plays a crucial role in defining the overall aesthetic of your room. Consider the following options:
- Full-length curtains: Extend from the top of the window to the floor, creating a dramatic and elegant look.
- Sill-length curtains: End at the window sill or slightly below, offering a more casual and practical option.
For a formal living room or dining area, full-length curtains can add sophistication. Sill-length curtains work well in kitchens, bathrooms, or areas where floor-length curtains might be impractical.
Single panel or pair of panels
Deciding between a single panel or a pair of panels depends on various factors:
- Window width
- Desired fullness
- Aesthetic preferences
- Functionality requirements
A single panel can be suitable for narrow windows or a minimalist look, while a pair of panels offers greater versatility in terms of light control and visual impact.
Curtain header styles
The header style of your curtains can significantly influence the overall appearance of your window treatment. Some popular options include:
- Rod pocket: Simple and classic, suitable for lightweight fabrics
- Pinch pleat: Formal and tailored, ideal for heavier fabrics
- Grommet: Modern and easy to open/close, works well with contemporary decor
- Tab top: Casual and relaxed, perfect for a cottage or beach house style
When selecting a header style, consider factors such as the room’s decor, the curtain fabric weight, and your personal preferences for opening and closing the curtains.
With your curtain style determined, the next step is to measure the window width correctly. This ensures that your custom curtains fit perfectly and function as intended.
Measure Window Width Correctly
Inside mount measurement technique
When measuring for inside mount curtains, precision is key. This technique involves fitting the curtain rod or track within the window frame, creating a sleek, built-in look. To ensure accurate measurements:
- Measure the width at three points: top, middle, and bottom of the window frame.
- Record the narrowest measurement to ensure a proper fit.
- Deduct 1/4 inch from the final width measurement for clearance.
| Measurement Point | Width (inches) |
| Top | 36.5 |
| Middle | 36.25 |
| Bottom | 36.75 |
| Narrowest (Final) | 36.25 |
Outside mount measurement technique
Outside mount curtains offer more flexibility and can make windows appear larger. Follow these steps for accurate outside mount measurements:
- Decide how far beyond the window frame you want the curtains to extend.
- Measure from outer edge to outer edge of the desired curtain coverage area.
- Add 4-8 inches to the total width for optimal light blocking and aesthetics.
Account for overlap and fullness
To achieve a luxurious look and ensure proper functionality, consider overlap and fullness when measuring for custom curtains:
- Overlap: Add 2-3 inches on each side of the window for light blocking.
- Fullness: Multiply your final width measurement by:
- 1.5 for a relaxed look
- 2 for a fuller appearance
- 3 for maximum fullness and a dramatic effect
- 1.5 for a relaxed look
| Fullness Level | Multiplier | Example (36″ width) |
| Relaxed | 1.5 | 54 inches |
| Full | 2 | 72 inches |
| Maximum | 3 | 108 inches |
When measuring windows for curtains, it’s crucial to consider the mounting technique, overlap, and desired fullness. These factors significantly impact the final look and functionality of your custom curtains. By following these guidelines, you’ll ensure a perfect fit and achieve the desired aesthetic for your window treatments.
Remember that accurate measurements are the foundation of well-fitting custom curtains. Take your time and double-check your measurements to avoid costly mistakes. With the correct width measurements in hand, you’re one step closer to creating the perfect curtains for your space.
Now that we’ve covered how to measure window width correctly, let’s move on to the equally important task of measuring window length accurately.
Measure Window Length Accurately
Determine desired curtain length
When measuring window length for custom curtains, the first step is to decide on your desired curtain length. This choice depends on your personal style preferences and the overall look you want to achieve in your room. Here are the most common curtain length options:
- Sill length: Ends just above the window sill
- Below sill length: Extends 4-6 inches below the window sill
- Apron length: Reaches to the bottom of the window apron (decorative trim below the sill)
- Floor length: Touches or hovers slightly above the floor
- Puddle length: Extends onto the floor, creating a pooled effect
| Curtain Length | Description | Best suited for |
| Sill length | Ends at window sill | Kitchens, bathrooms |
| Below sill | 4-6 inches below sill | Casual living spaces |
| Apron length | Bottom of window trim | Traditional rooms |
| Floor length | Touches or near floor | Formal living areas |
| Puddle length | Pools on the floor | Luxurious bedrooms |
Inside mount length measurement
For an inside mount, measure from the top of the window frame to your desired endpoint. This method is ideal for a clean, streamlined look and works well with roman shades or tension rods. Follow these steps:
- Place your measuring tape at the top inside edge of the window frame
- Extend it down to your chosen endpoint (sill, below sill, or floor)
- Record the measurement to the nearest 1/8 inch
Outside mount length measurement
Outside mounts are more common for curtains and provide a grander appearance. They can make windows seem larger and ceilings higher. To measure for an outside mount:
- Decide on the rod placement (typically 4-6 inches above the window frame)
- Measure from this point down to your desired endpoint
- Add an extra 1-2 inches to allow for hem adjustments
Accounting for curtain rings or hooks
If you’re using curtain rings or hooks, factor them into your length measurement:
- Measure the distance from the top of the ring or hook to the rod
- Subtract this measurement from your total curtain length
- For pinch-pleat curtains, measure from the top of the pin to the bottom of the curtain
Remember, accurate measurements are crucial for custom curtains. Always double-check your numbers and consider ordering slightly longer curtains if you’re unsure. It’s easier to hem curtains that are too long than to lengthen ones that are too short.
Now that you’ve mastered measuring window length, let’s move on to addressing special window shapes that might require additional considerations.
Consider Special Window Shapes
Measuring bay windows
Bay windows add character to a room but can present a challenge when measuring for curtains. To accurately measure bay windows:
- Measure each section separately
- Account for the angles between sections
- Consider using a bay window curtain rod
Here’s a detailed breakdown of the process:
- Start by measuring the width of each section individually.
- Measure the depth of the bay (from the wall to the front of the window).
- Determine the angle between sections (typically 90°, 135°, or 150°).
- Add extra width for overlap and fullness.
| Bay Window Section | Width | Depth | Angle |
| Left Panel | X cm | Y cm | Z° |
| Center Panel | X cm | Y cm | N/A |
| Right Panel | X cm | Y cm | Z° |
Arched window measurements
Arched windows require special attention to ensure a proper fit for curtains. Follow these steps:
- Measure the width at the widest point of the arch.
- Measure the height from the top of the arch to the windowsill.
- Measure the height of the straight sides.
- Determine the radius of the arch.
For a more tailored look, consider custom-shaped curtains that follow the arch’s contour. Alternatively, use standard curtains hung above the arch to create a streamlined appearance.
Corner window considerations
Corner windows present unique challenges for curtain installation. Here’s how to approach them:
- Decide on curtain configuration:
- Two separate curtains meeting at the corner
- One continuous curtain wrapping around the corner
- Two separate curtains meeting at the corner
- Measure each window section individually:
- Width from the corner to the outer edge
- Height from top to bottom
- Width from the corner to the outer edge
- Account for overlap at the corner:
- Add 10-15 cm to each curtain panel for proper coverage
- Add 10-15 cm to each curtain panel for proper coverage
- Choose appropriate hardware:
- Corner connectors for continuous curtain rods
- Individual rods for separate curtains
- Corner connectors for continuous curtain rods
When dealing with these special window shapes, it’s crucial to take precise measurements and consider the overall aesthetic you want to achieve. Custom curtains can be an excellent solution for these unique windows, ensuring a perfect fit and enhancing the room’s visual appeal.
Now that we’ve covered how to measure special window shapes, let’s move on to the final step in the curtain measurement process: recording and double-checking your measurements to ensure accuracy.
Record and Double-Check Measurements
Create a measurement chart
When measuring windows for custom curtains, organization is key. Creating a comprehensive measurement chart ensures all essential data is recorded and easily accessible. This chart should include:
- Window location
- Window width
- Window length
- Curtain rod length
- Curtain style preferences
Here’s an example of a simple yet effective measurement chart:
| Window Location | Width (inches) | Length (inches) | Rod Length (inches) | Curtain Style |
| Living Room | 60 | 72 | 72 | Grommet |
| Bedroom 1 | 48 | 60 | 58 | Rod Pocket |
| Kitchen | 36 | 36 | 44 | Café |
By using this chart, you’ll have a clear overview of all your window measurements, making the process of ordering custom curtains much simpler and more organized.
Re-measure for accuracy
After creating your initial measurement chart, it’s crucial to re-measure each window to ensure accuracy. Even small discrepancies can lead to ill-fitting curtains, so this step is vital for achieving the perfect custom fit. When re-measuring:
- Use the same measuring tape for consistency
- Measure at different times of day to account for potential wood expansion
- Have another person double-check your measurements
- Round measurements to the nearest 1/8 inch for precision
Remember, it’s always better to measure twice and order once than to rush through the process and end up with curtains that don’t fit properly.
Calculate curtain rod length
The final step in recording your measurements is calculating the appropriate curtain rod length. This is crucial for achieving the desired look and functionality of your custom curtains. To calculate the ideal rod length:
- Measure the width of your window
- Add 8-12 inches on each side for fullness (16-24 inches total)
- Consider the curtain style and desired gather
For example, if your window is 60 inches wide and you want a moderate fullness:
60 inches (window width) + 20 inches (10 inches on each side) = 80 inches (ideal rod length)
Now that we have covered the essentials of recording and double-checking measurements, you’re well-equipped to proceed with ordering your custom curtains. With accurate measurements in hand, you can confidently select the perfect curtains to enhance your home’s décor.
Accurate window measurements are crucial for achieving a perfect fit with custom curtains. By following the steps outlined in this guide, homeowners can confidently measure their windows, considering factors such as curtain style, width, length, and special shapes. Proper measurement techniques ensure that custom curtains not only fit correctly but also enhance the overall aesthetics of the room.
Taking the time to gather the necessary tools, carefully measure each window, and double-check all measurements will lead to satisfying results. With precise measurements in hand, homeowners can confidently order custom curtains that will transform their living spaces into beautifully adorned, stylish environments. Remember, attention to detail during the measurement process is key to achieving the perfect custom curtain fit for any window.
Get Free Consultation from Inlite Furnishings Today!
Share on facebook
Share on pinterest
Share on linkedin
Share on telegram
Related Posts


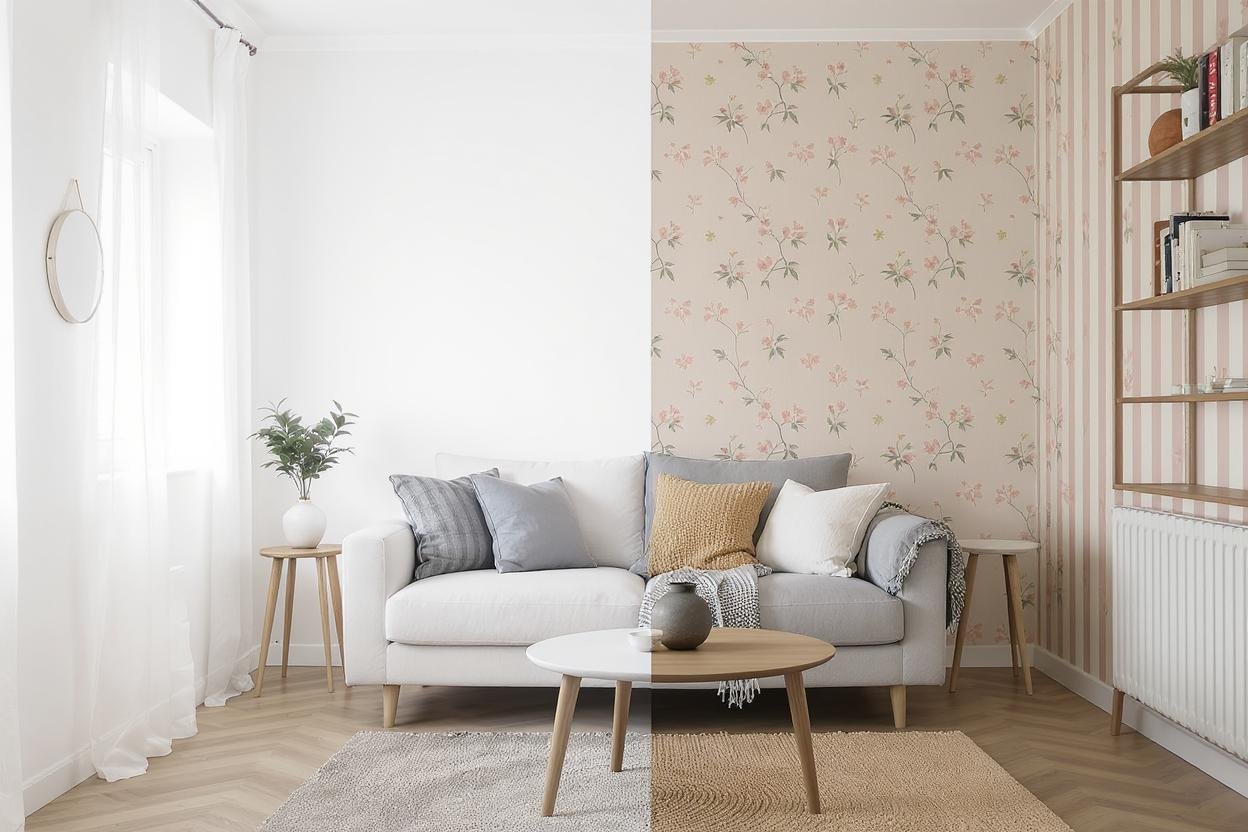
June 12, 2025
Best Wallpaper Patterns for Small Spaces
Categories
- Blog (31)
- curtains (6)
- Decoration (2)
- Fabric (8)
- Furniture (4)
- Interior Design (10)
- Uncategorized (1)
Recent posts
- Where Can I Find Custom Curtains and Blinds in Calicut, Kerala? July 3, 2025
- Where Can I Find Top-Quality Sofa Fabrics in Calicut, Kerala? June 26, 2025
- Top Color Palettes for Living Room Furnishings in 2025-2026 June 19, 2025
- Best Wallpaper Patterns for Small Spaces June 12, 2025
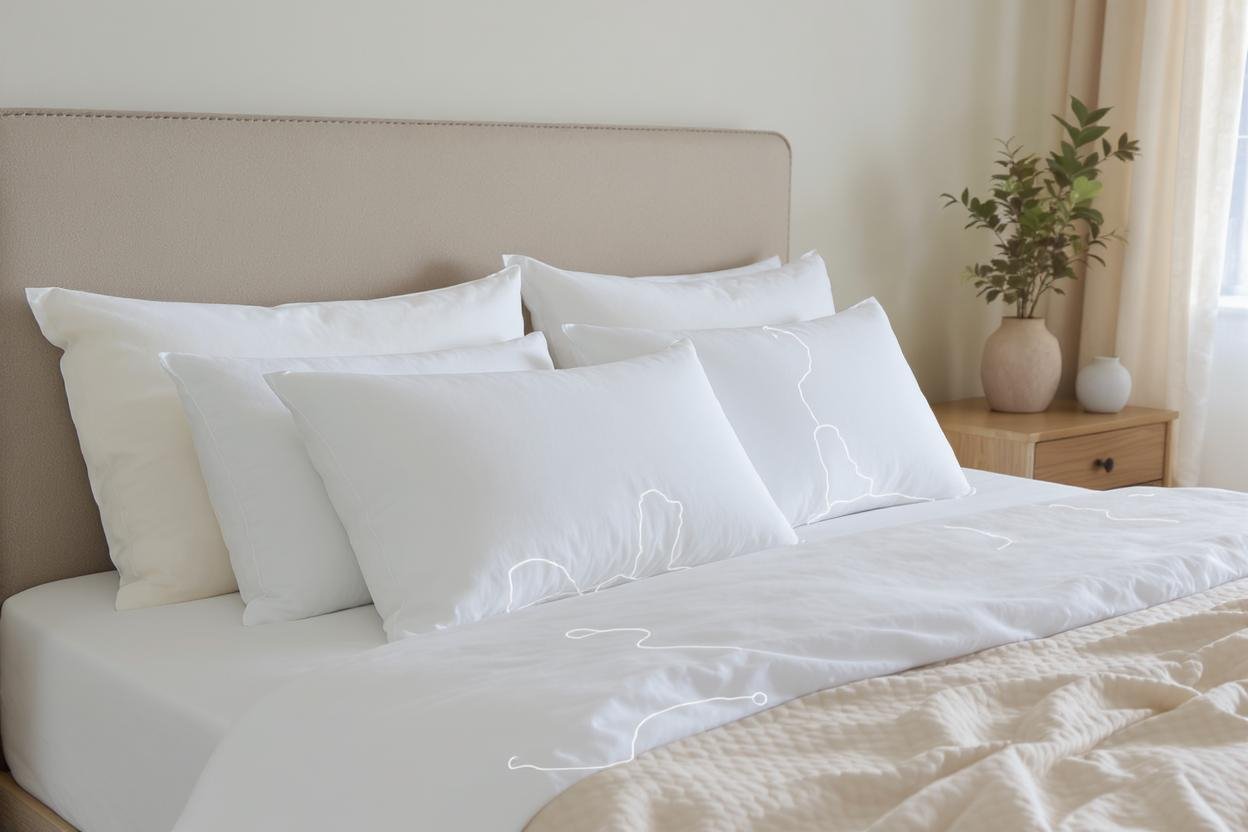
- Best Pillows for Every Sleeping Position: A Buyer’s Guide June 5, 2025
Archive
Follow us